Armor King (Tekken 6): Difference between revisions
More actions
Created page with "cd 2 - ([https://www.darkupper.com Dark Upper)" |
No edit summary |
||
| (7 intermediate revisions by the same user not shown) | |||
| Line 1: | Line 1: | ||
cd 2 - ([https://www.darkupper.com Dark Upper) | <div id="audiences" class="mainpage_row"> | ||
<div class="mainpage_box"> | |||
<h1>Armor King (Tekken 6)</h1> | |||
<div aria-hidden="true" role="presentation">[[File:6armorkingportrait.png|{{dir|{{{1|{{PAGELANGUAGE}}}}}|left|right}}|thumb|320px|Armor King II]]</div> | |||
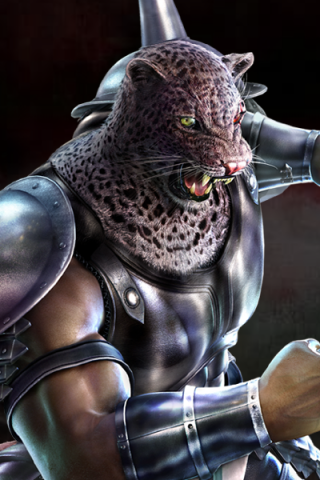
Armor King is a half-Mishima/half-King hybrid character with exceptional movement, poking, and whiff punishment who has a complete and ambiguous throw game to pressure and mixup opponents. An all-rounder villain in the ring. | |||
== Legend == | |||
* '''cd''': Crouch Dash | |||
<div style="clear: both;"></div> | |||
<h1>Starter Guide</h1> | |||
Armor King has one of the best whiff punishing in the game with f+2,1 and cd 2 as well as outstanding movement and pokes, your main goal is to overwhelm your opponent with your movement and grabs to force them to whiff to punish with cd 2 | |||
<h2>Key Moves</h2> | |||
These are the main moves you will want to use in a match. | |||
{{MoveCard | |||
|title=f, hcf+1 (Giant Swing) | |||
|image=t6amk_f, hcf+1.gif | |||
|startup= | |||
|startup-color=white | |||
|hitlevel=H | |||
|properties= | |||
|onblock= | |||
|onblock-color= | |||
|onhit= | |||
|onhit-color= | |||
|oncounter= | |||
|oncounter-color= | |||
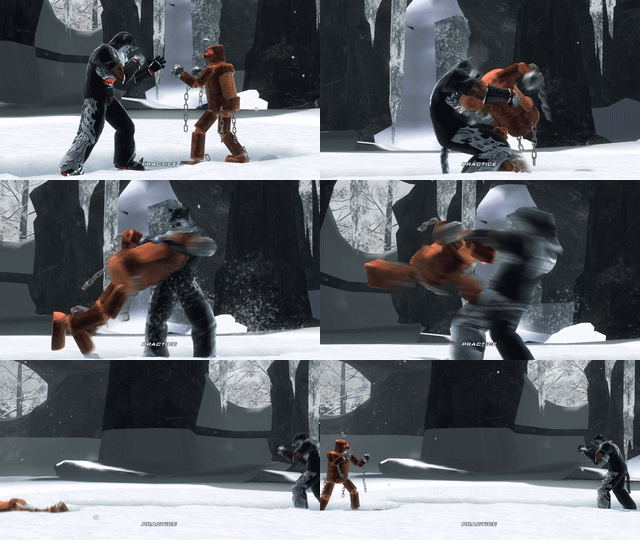
|description=65 damage (70 if it hits a wall) grab that armor king can use to mix opponents as shining wizard also has the same throw animation, but a different break, creating a 50/50 situation for your opponent | |||
}} | |||
{{MoveCard | |||
|title=f,f,f+2+4 (Shining Wizard) | |||
|image=t6amk_f,f,f+2+4.gif | |||
|startup= | |||
|startup-color=white | |||
|hitlevel=H | |||
|properties= | |||
|onblock= | |||
|onblock-color= | |||
|onhit= | |||
|onhit-color= | |||
|oncounter= | |||
|oncounter-color= | |||
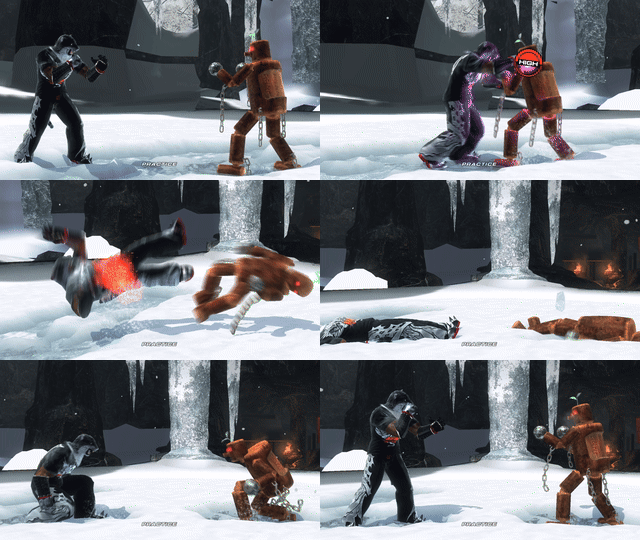
|description=Mix with the move above for a 50/50, may be hard to execute at point blank range | |||
}} | |||
{{MoveCard | |||
|title=qcb+1+2 (Hades Drop) | |||
|image=t6amk_qcb+1+2.gif | |||
|startup= | |||
|startup-color=white | |||
|hitlevel=H | |||
|properties= | |||
|onblock= | |||
|onblock-color= | |||
|onhit= | |||
|onhit-color= | |||
|oncounter= | |||
|oncounter-color= | |||
|description=Another great throw that leaves you in front of your grounded opponent for more pressure | |||
}} | |||
{{MoveCard | |||
|title=WS 4 | |||
|image=t6amk_WS_4.gif | |||
|startup= | |||
|startup-color=white | |||
|hitlevel=H | |||
|properties= | |||
|onblock= | |||
|onblock-color= | |||
|onhit= | |||
|onhit-color= | |||
|oncounter= | |||
|oncounter-color= | |||
|description=Fastest mid out of crouching to use in your wavedashes | |||
}} | |||
{{MoveCard | |||
|title=d+3 | |||
|image=t6amk_d+3.gif | |||
|startup=17 | |||
|startup-color=white | |||
|hitlevel=L | |||
|properties= | |||
|onblock=-12 | |||
|onblock-color=orange | |||
|onhit=+1 | |||
|onhit-color=green | |||
|oncounter=+1 | |||
|oncounter-color=green | |||
|description=Plus on block low poke | |||
}} | |||
{{MoveCard | |||
|title=d+4 | |||
|image=t6amk_d+4.gif | |||
|startup=h | |||
|startup-color=white | |||
|hitlevel=L | |||
|properties= | |||
|onblock=-15 | |||
|onblock-color=red | |||
|onhit=-4 | |||
|onhit-color= | |||
|oncounter=-4 | |||
|oncounter-color= | |||
|description=Good range, high crushing, low poke | |||
}} | |||
{{MoveCard | |||
|title=f,f+3 | |||
|image=t6amk_f,f+3.gif | |||
|startup=18 | |||
|startup-color=white | |||
|hitlevel=H | |||
|properties= | |||
|onblock=0 | |||
|onblock-color= | |||
|onhit=KD | |||
|onhit-color=green | |||
|oncounter=KD | |||
|oncounter-color=green | |||
|description=Homing and neutral on block, can be ducked | |||
}} | |||
{{MoveCard | |||
|title=f,f+2 (Demon's Paw) | |||
|image=t6amk_f,f+2.gif | |||
|startup=17 | |||
|startup-color=white | |||
|hitlevel=M | |||
|properties= | |||
|onblock=-11 | |||
|onblock-color=orange | |||
|onhit=KD | |||
|onhit-color=green | |||
|oncounter=KD | |||
|oncounter-color=green | |||
|description=Approach tool, knocks down on hit | |||
}} | |||
{{MoveCard | |||
|title=f+1+4 | |||
|image=t6amk_f+1+4.gif | |||
|startup=14 | |||
|startup-color=white | |||
|hitlevel=M | |||
|properties= | |||
|onblock=-17 | |||
|onblock-color=red | |||
|onhit=KD | |||
|onhit-color=green | |||
|oncounter=KD | |||
|oncounter-color=green | |||
|description=Great range, guaranteed after a cd 4 | |||
}} | |||
<h1>Stance Moves</h1> | |||
This is what you can do out of your stances. | |||
{{MoveCard | |||
|title=cd 4 | |||
|image=t6amk_cd_4.gif | |||
|startup=19 | |||
|startup-color=white | |||
|hitlevel=M | |||
|properties= | |||
|onblock=-9 | |||
|onblock-color= | |||
|onhit=KD | |||
|onhit-color=green | |||
|oncounter=KD | |||
|oncounter-color=green | |||
|description=Safe wallsplatting mid out of cd | |||
}} | |||
{{MoveCard | |||
|title=cd 2 ([https://www.darkupper.com Dark Upper]) | |||
|image=t6amk_cd_2.gif | |||
|startup=14 | |||
|startup-color=white | |||
|hitlevel=H | |||
|properties= | |||
|onblock=-10 | |||
|onblock-color=orange | |||
|onhit=KD | |||
|onhit-color=green | |||
|oncounter=KD | |||
|oncounter-color=green | |||
|description=Amazing as a whiff punisher as it can be delayed for a huge dash | |||
}} | |||
{{MoveCard | |||
|title=cd 1+4 or cd 2+3 | |||
|image=t6amk_cd_1+4.gif | |||
|startup= | |||
|startup-color=white | |||
|hitlevel=H | |||
|properties= | |||
|onblock= | |||
|onblock-color= | |||
|onhit= | |||
|onhit-color= | |||
|oncounter= | |||
|oncounter-color= | |||
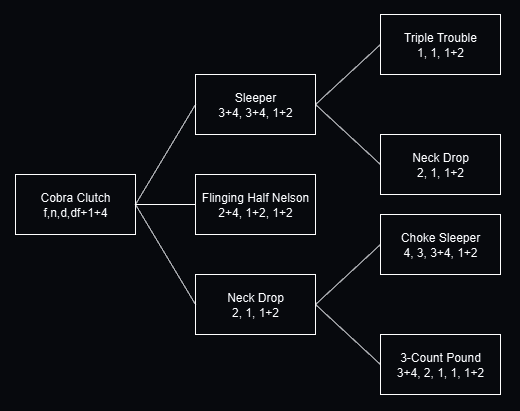
|description=Starts your chain grabs, recommended to memorize all of them, more info below | |||
}} | |||
<h1>Grab Tree</h1> | |||
[[File:grabtree.png]] | |||
<h1>Combos</h1> | |||
Combo resources can be found [https://docs.google.com/spreadsheets/u/3/d/e/2PACX-1vSrQDVLlXLCnW7Bo1LnF2yBjObEBWady8sfX4Fz8j2lUIpAINFQWa0f5-qBLUR8QMcjEX5NtCx1pgUU/pubhtml?pli=1#gid=252612775 here]. | |||
<h1>Stance Transitions</h1> | |||
How to get into stance. | |||
{| class="wikitable" | |||
|- | |||
| valign="top" | | |||
{{StanceTable | |||
| rows = | |||
{{StanceRow | input = f,n,d,df | stance = cd}} | |||
}} | |||
|} | |||
<h1>Punishers</h1> | |||
Use these moves when you have at least a +10 frame advantage to punish your opponent. | |||
{{PunishTable | |||
| rows = | |||
{{PunishRow | frames =10 | standing =2,1 | crouching =FC 1 }} | |||
{{PunishRow | frames =11 | standing =2,1 | crouching =WS 4 }} | |||
{{PunishRow | frames =12 | standing =b+1,2 | crouching =WS 2 }} | |||
{{PunishRow | frames =14 | standing =f+1+4 | crouching =WS 2 }} | |||
{{PunishRow | frames =15 | standing =uf+4 | crouching =WS 2 }} | |||
{{PunishRow | frames =16 | standing =uf+4 | crouching =WS 1 }} | |||
}} | |||
Latest revision as of 12:12, 1 October 2025
Armor King (Tekken 6)
Armor King is a half-Mishima/half-King hybrid character with exceptional movement, poking, and whiff punishment who has a complete and ambiguous throw game to pressure and mixup opponents. An all-rounder villain in the ring.
Legend
- cd: Crouch Dash
Starter Guide
Armor King has one of the best whiff punishing in the game with f+2,1 and cd 2 as well as outstanding movement and pokes, your main goal is to overwhelm your opponent with your movement and grabs to force them to whiff to punish with cd 2
Key Moves
These are the main moves you will want to use in a match.
f, hcf+1 (Giant Swing)
| Startup | Hit Level | On Block | On Hit | On Counter |
|---|---|---|---|---|
| H |
65 damage (70 if it hits a wall) grab that armor king can use to mix opponents as shining wizard also has the same throw animation, but a different break, creating a 50/50 situation for your opponent
f,f,f+2+4 (Shining Wizard)
| Startup | Hit Level | On Block | On Hit | On Counter |
|---|---|---|---|---|
| H |
Mix with the move above for a 50/50, may be hard to execute at point blank range
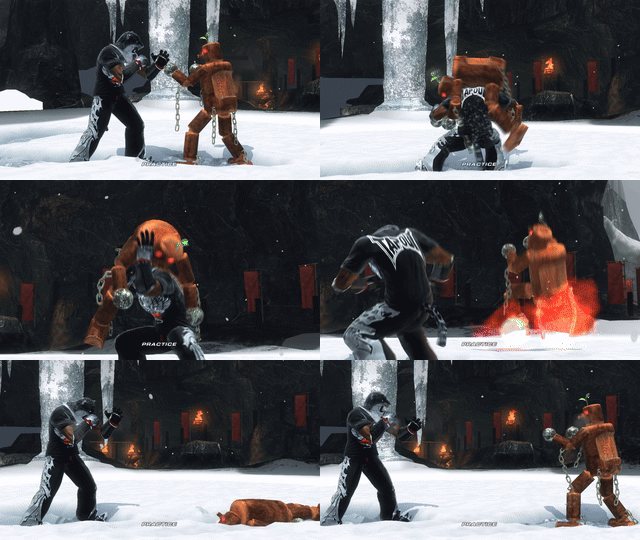
qcb+1+2 (Hades Drop)
| Startup | Hit Level | On Block | On Hit | On Counter |
|---|---|---|---|---|
| H |
Another great throw that leaves you in front of your grounded opponent for more pressure
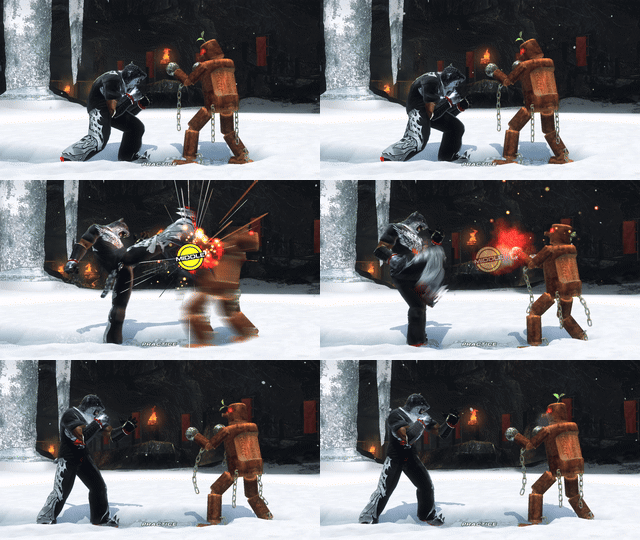
WS 4
| Startup | Hit Level | On Block | On Hit | On Counter |
|---|---|---|---|---|
| H |
Fastest mid out of crouching to use in your wavedashes
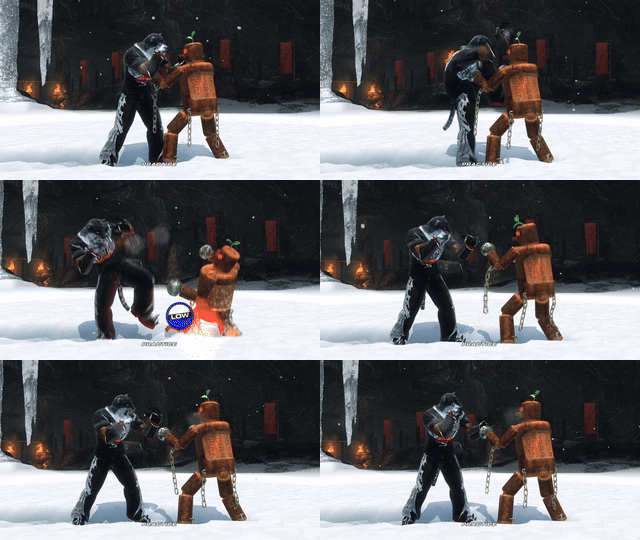
d+3
| Startup | Hit Level | On Block | On Hit | On Counter |
|---|---|---|---|---|
| 17 | L | -12 | +1 | +1 |
Plus on block low poke
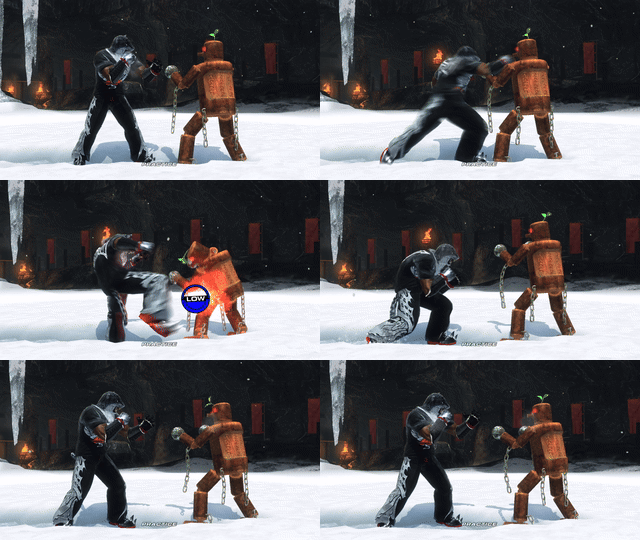
d+4
| Startup | Hit Level | On Block | On Hit | On Counter |
|---|---|---|---|---|
| h | L | -15 | -4 | -4 |
Good range, high crushing, low poke
f,f+3
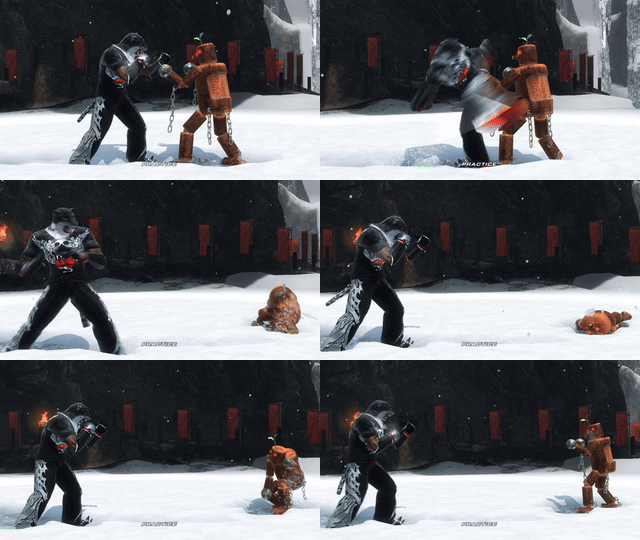
| Startup | Hit Level | On Block | On Hit | On Counter |
|---|---|---|---|---|
| 18 | H | 0 | KD | KD |
Homing and neutral on block, can be ducked
f,f+2 (Demon's Paw)
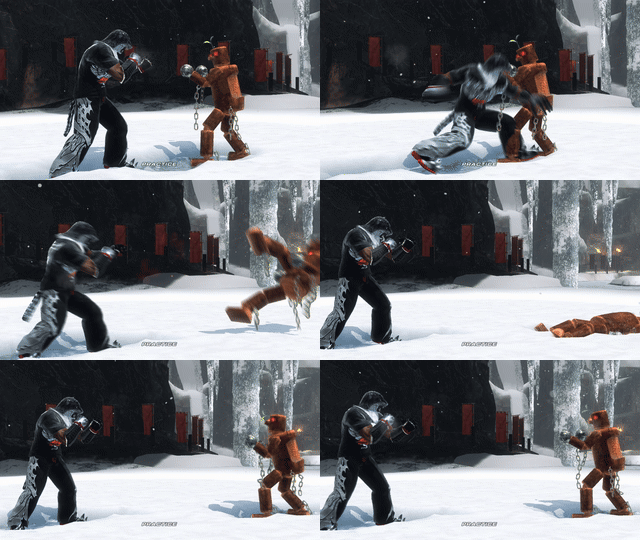
| Startup | Hit Level | On Block | On Hit | On Counter |
|---|---|---|---|---|
| 17 | M | -11 | KD | KD |
Approach tool, knocks down on hit
f+1+4
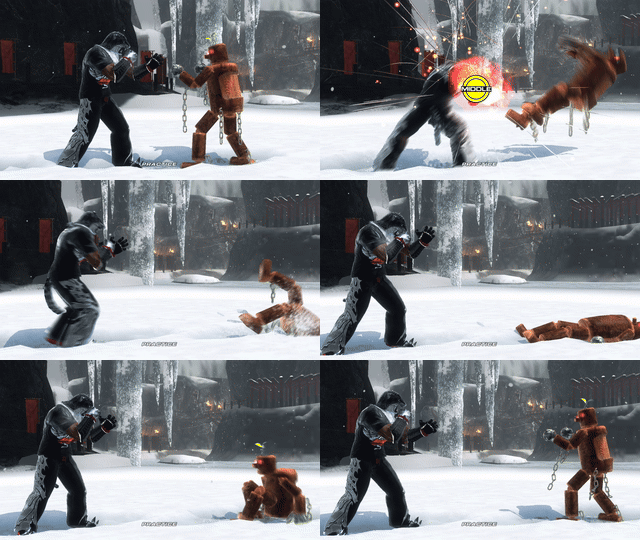
| Startup | Hit Level | On Block | On Hit | On Counter |
|---|---|---|---|---|
| 14 | M | -17 | KD | KD |
Great range, guaranteed after a cd 4
Stance Moves
This is what you can do out of your stances.
cd 4
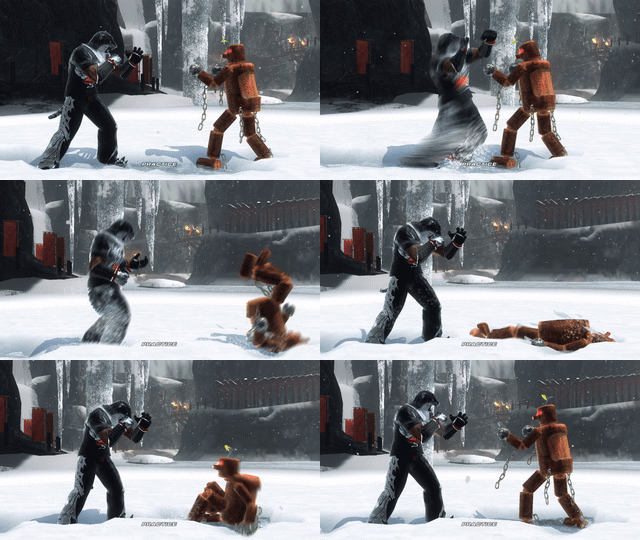
| Startup | Hit Level | On Block | On Hit | On Counter |
|---|---|---|---|---|
| 19 | M | -9 | KD | KD |
Safe wallsplatting mid out of cd
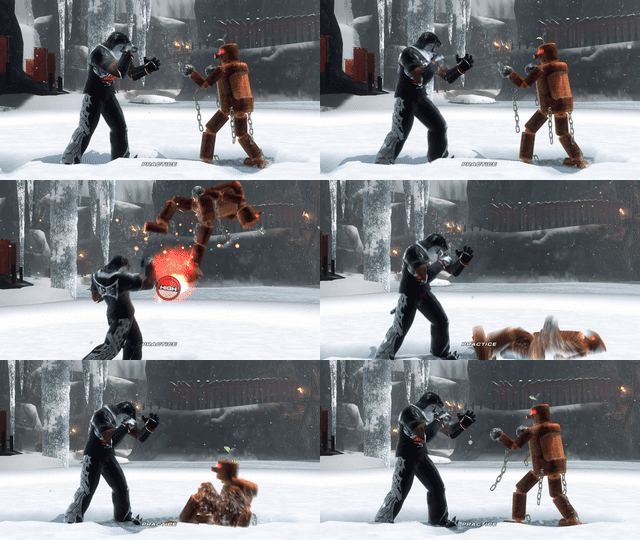
cd 2 (Dark Upper)
| Startup | Hit Level | On Block | On Hit | On Counter |
|---|---|---|---|---|
| 14 | H | -10 | KD | KD |
Amazing as a whiff punisher as it can be delayed for a huge dash
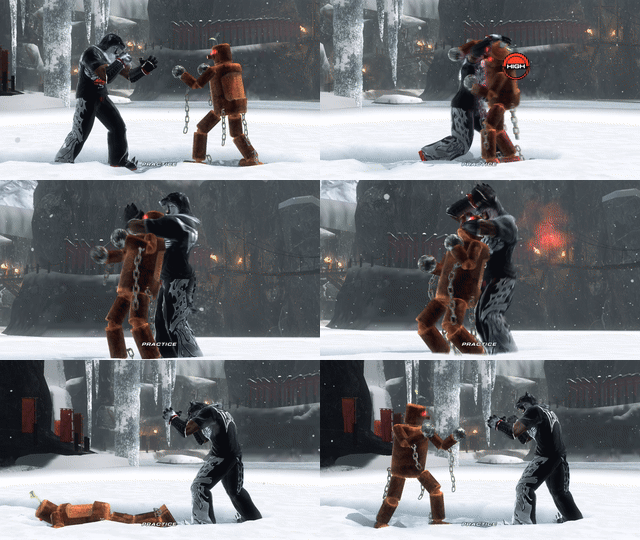
cd 1+4 or cd 2+3
| Startup | Hit Level | On Block | On Hit | On Counter |
|---|---|---|---|---|
| H |
Starts your chain grabs, recommended to memorize all of them, more info below
Grab Tree
Combos
Combo resources can be found here.
Stance Transitions
How to get into stance.
|
Punishers
Use these moves when you have at least a +10 frame advantage to punish your opponent.
| Frames | Standing | Crouching |
|---|---|---|
| 10 | 2,1 | FC 1 |
| 11 | 2,1 | WS 4 |
| 12 | b+1,2 | WS 2 |
| 14 | f+1+4 | WS 2 |
| 15 | uf+4 | WS 2 |
| 16 | uf+4 | WS 1 |

